Compact Roof System
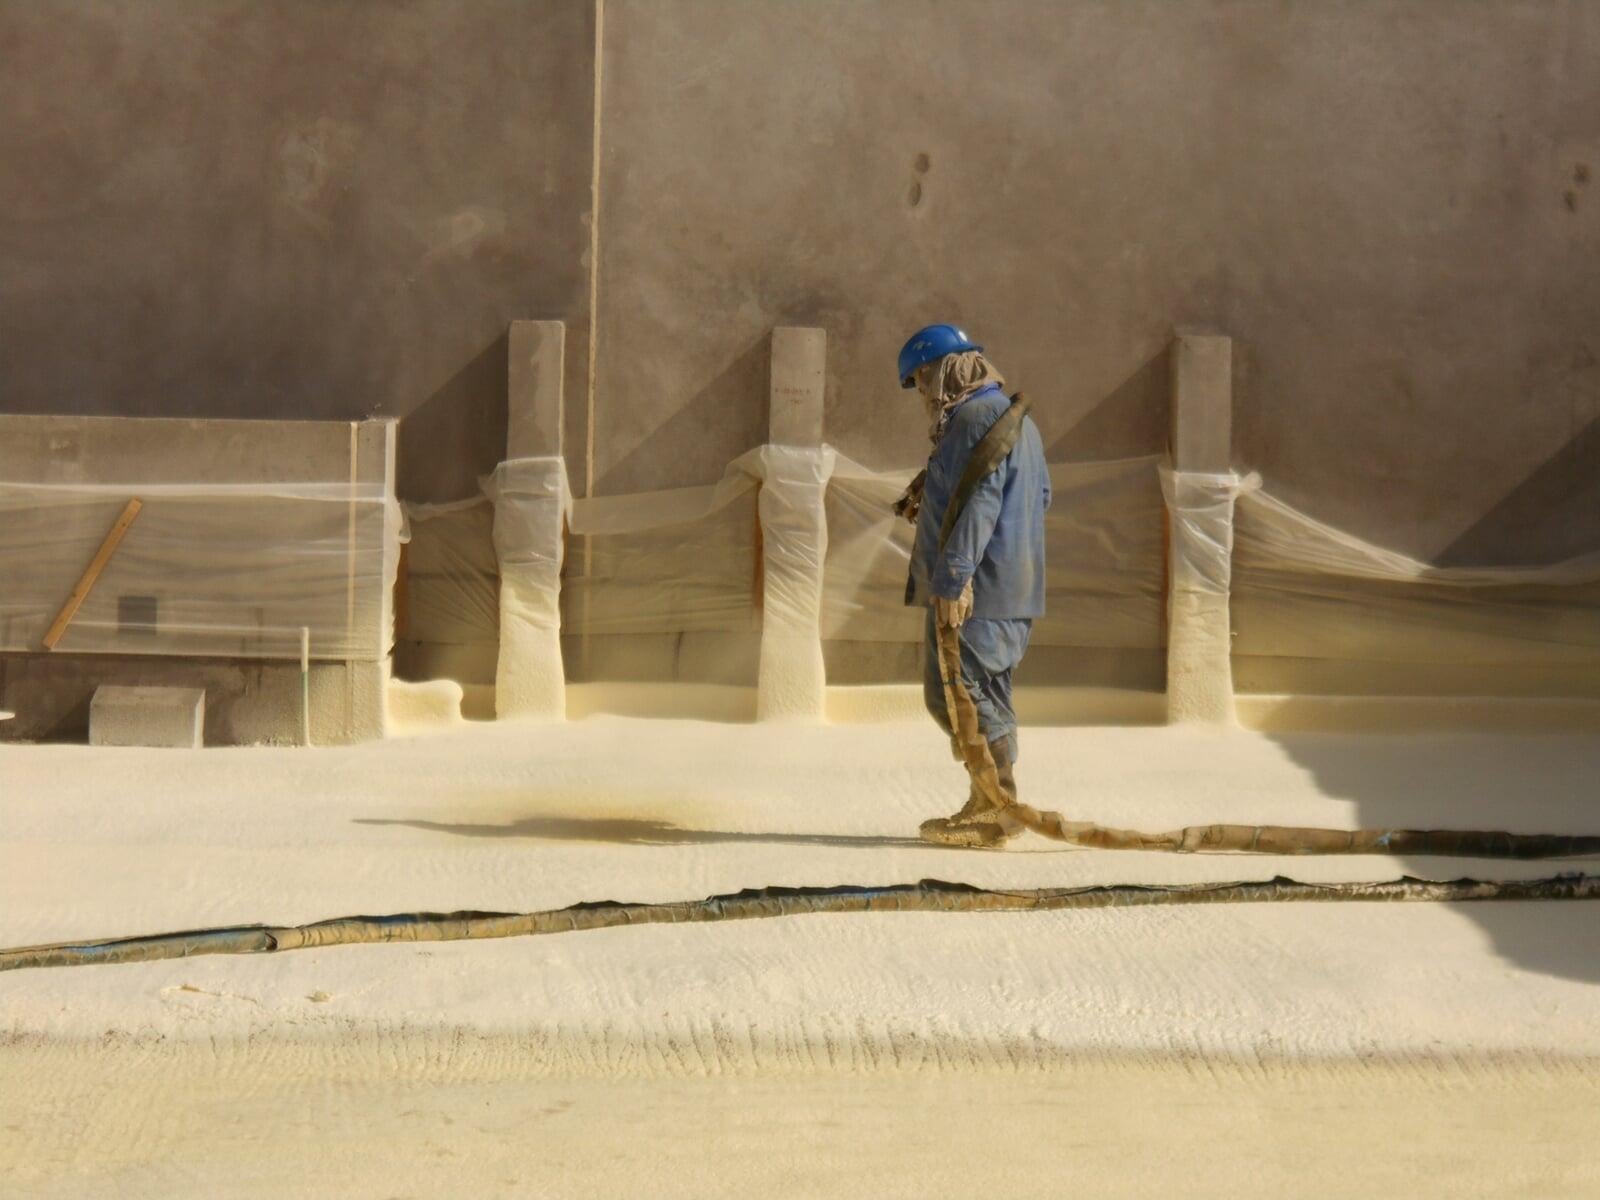
Stage 1 : Application of PU Foam
Polyurethane foam of density 45 Kg/m3 is sprayed on the clean roof-slab, this spray fits into the narrowest of cracks and edges and seals them. The foam itself takes 30 seconds to harden and form a protective insulation and waterproofing layer. The foam is sprayed in multiple layers of thickness 10-15 mm to achieve the desired thickness.
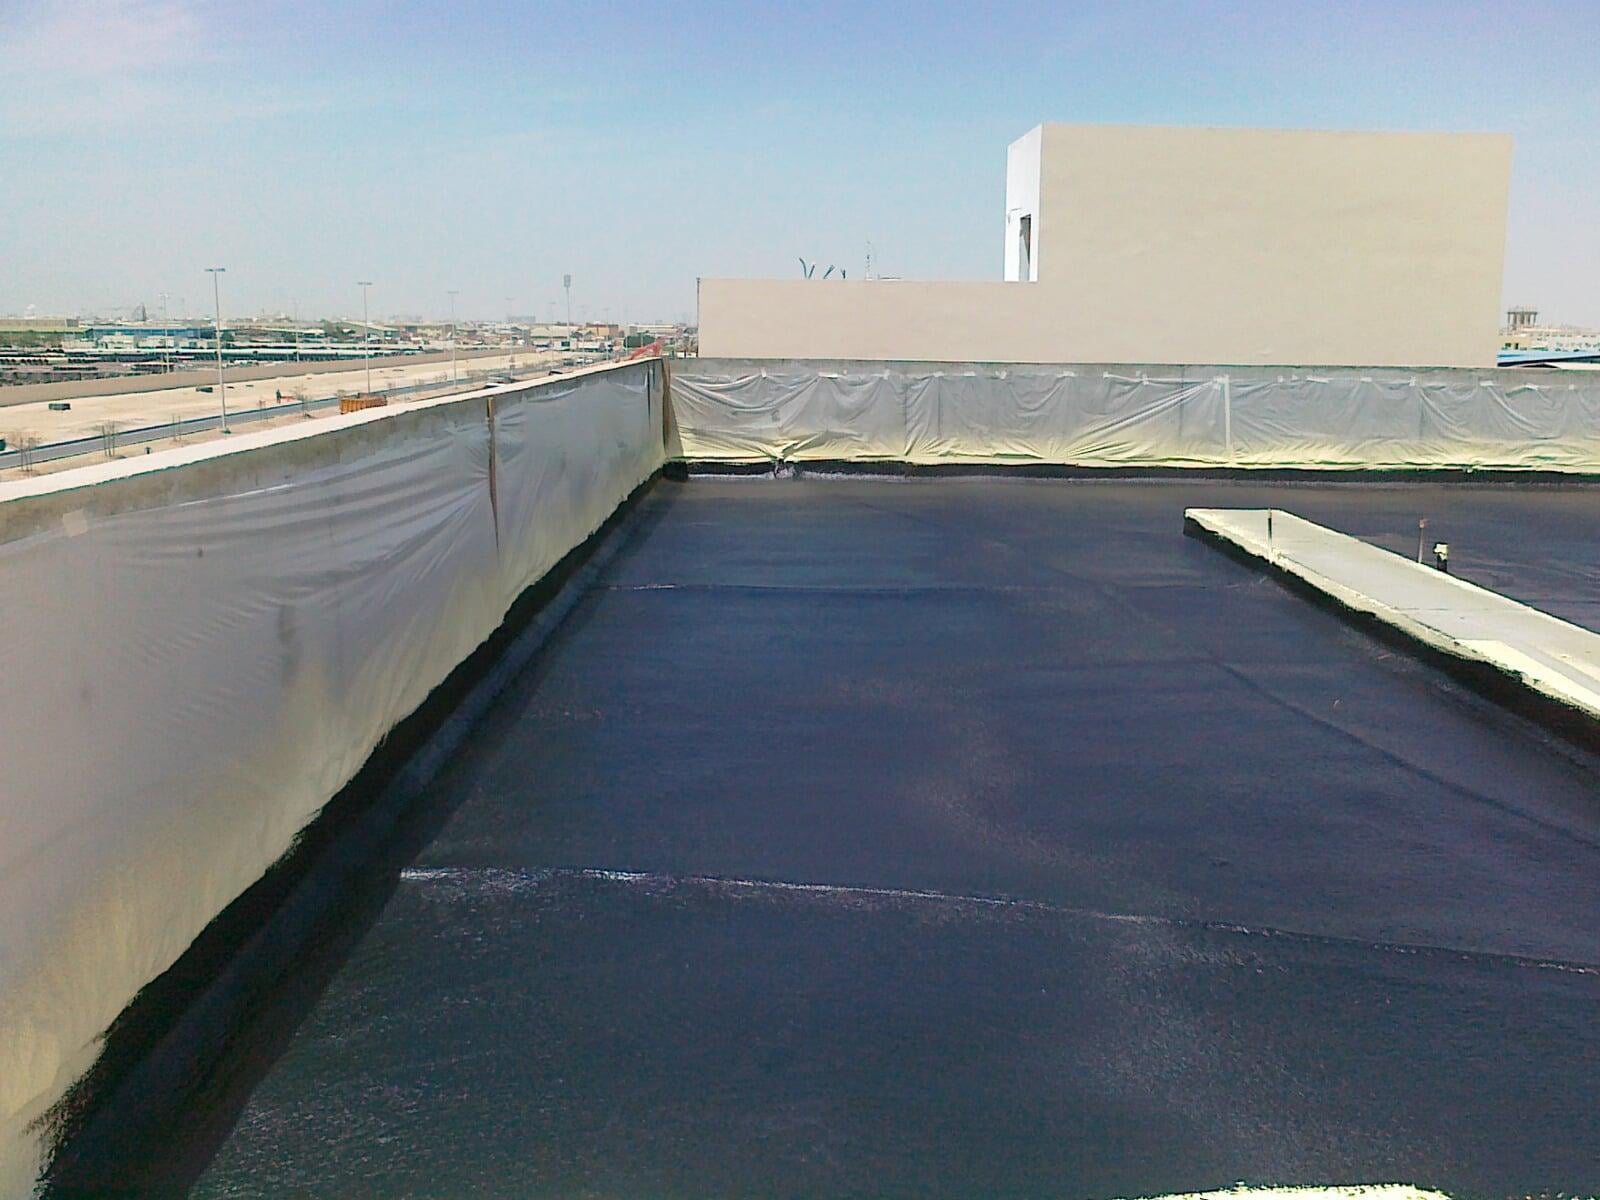
Stage 2 : Application of UV Coat
Upon completion of PU foam application, a coat of 600-800 Microns of liquid Compact UV Protective Coating is applied to protect the Polyurethane from harmful UV radiation.
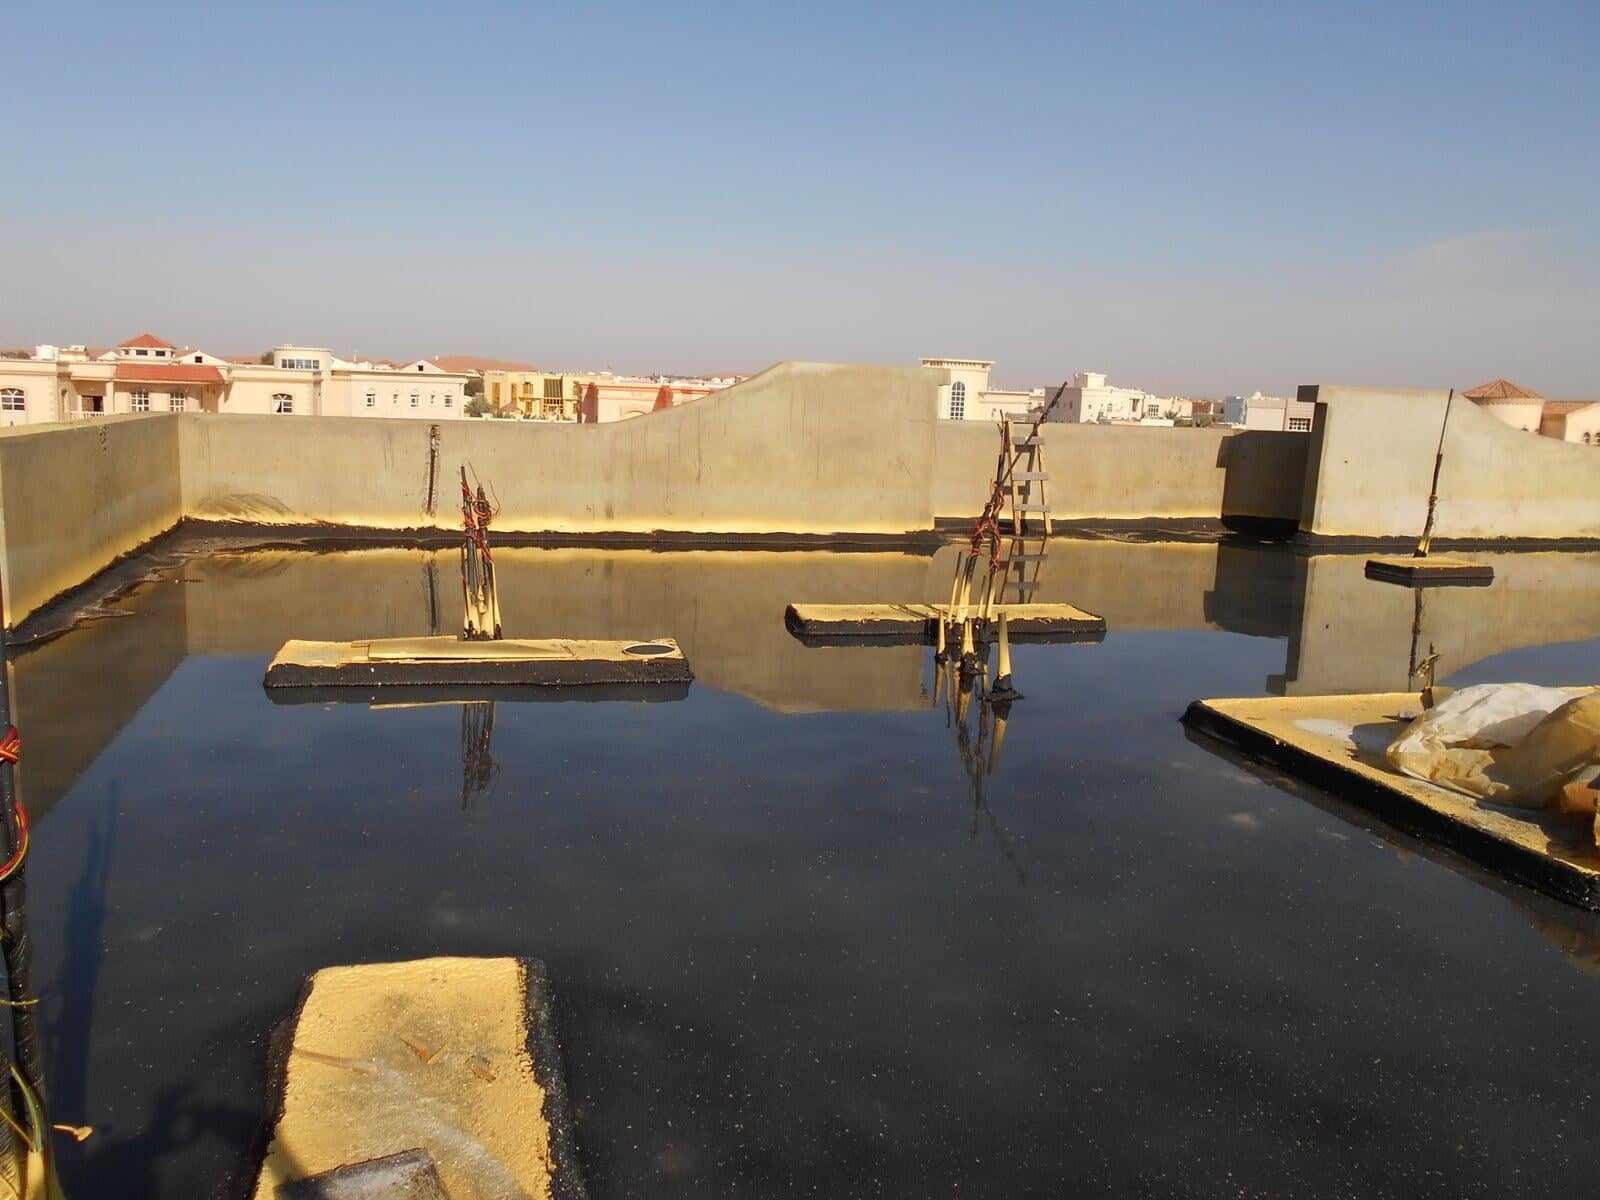
Stage 3 : Flood Test
After the UV coating has dried (min 24 hours) flood test is conducted with a water depth of 5-6 cm for 48 Hours to ensure no leaks are present in the system.
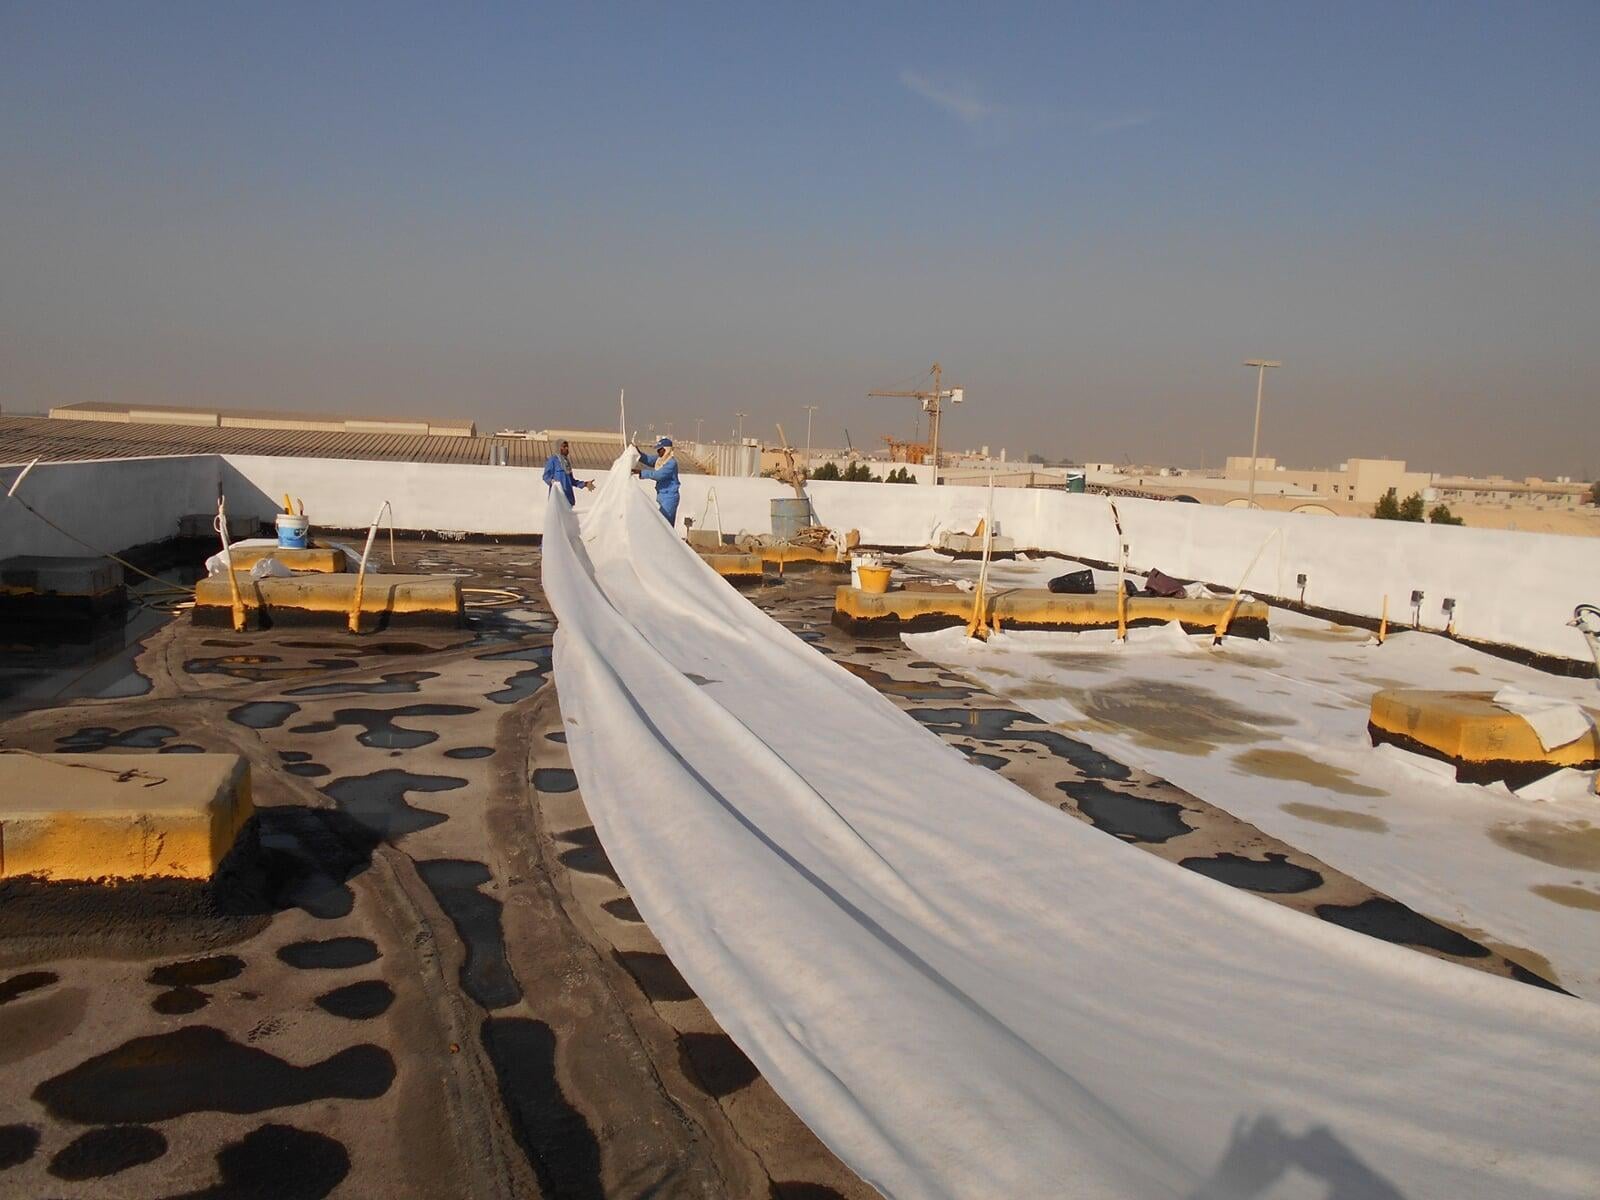
Stage 4 : Laying Geotextile
After Clearing Flood Test of 48 Hours Compact Geo Textile is laid which acts as a puncture resistant as well as a separation layer between the Screed and the Foam
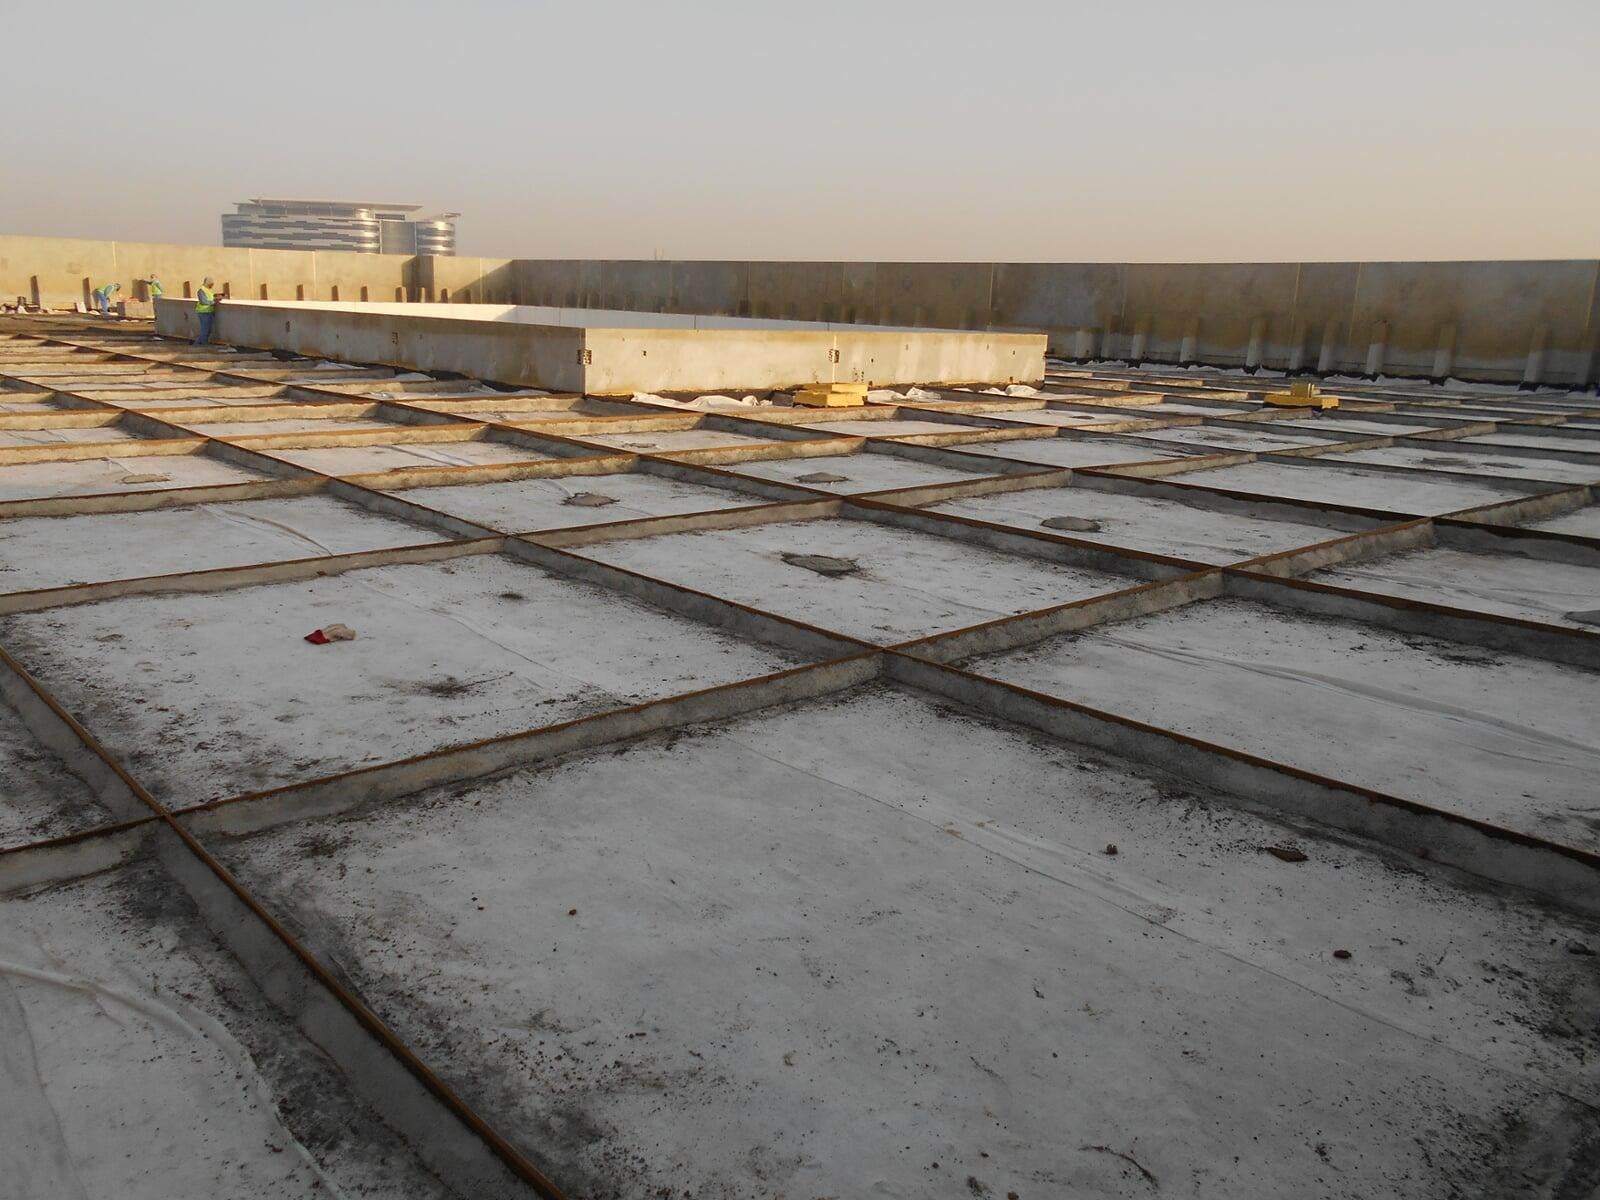
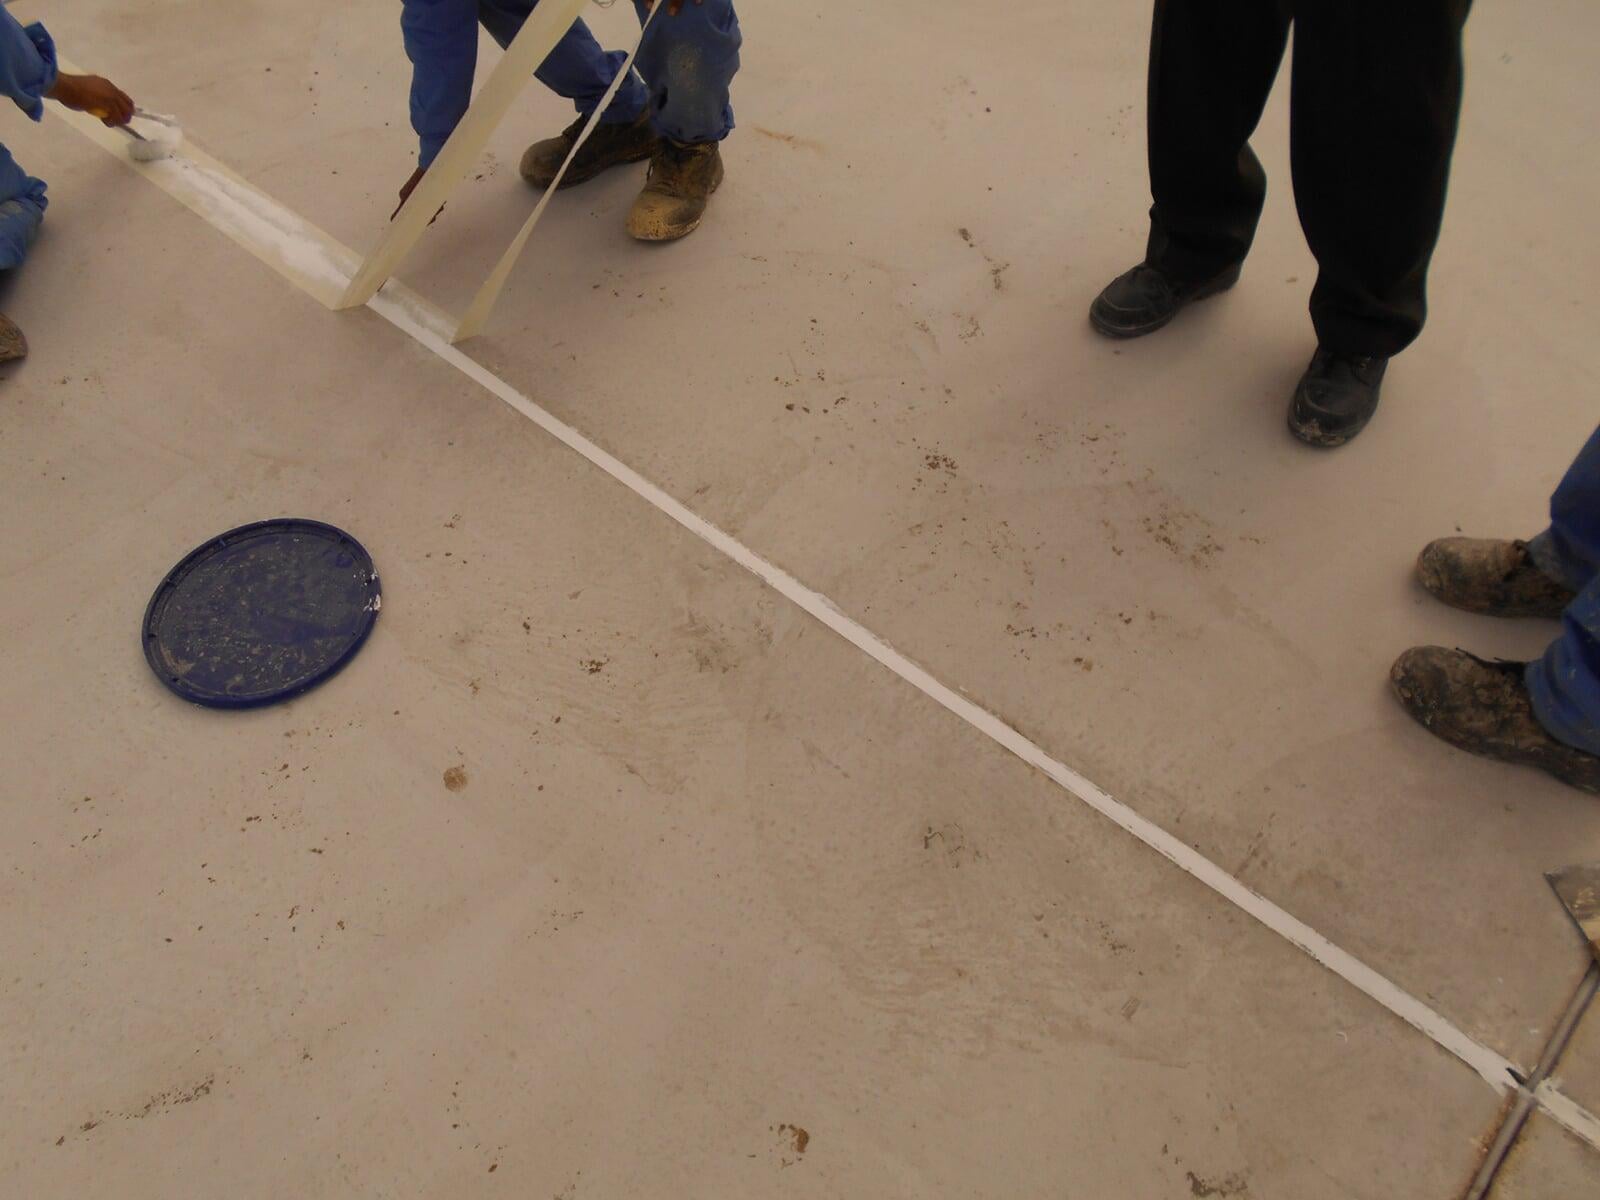
Stage 5 : Ridges
Once flood test is successful, the roof is divided into 3m X 3m Sections using Compact Flexy Board to provide slope and expansion joints to the roof. We recommend our valued customers to place a Rain Water Outlet every 100 m2.
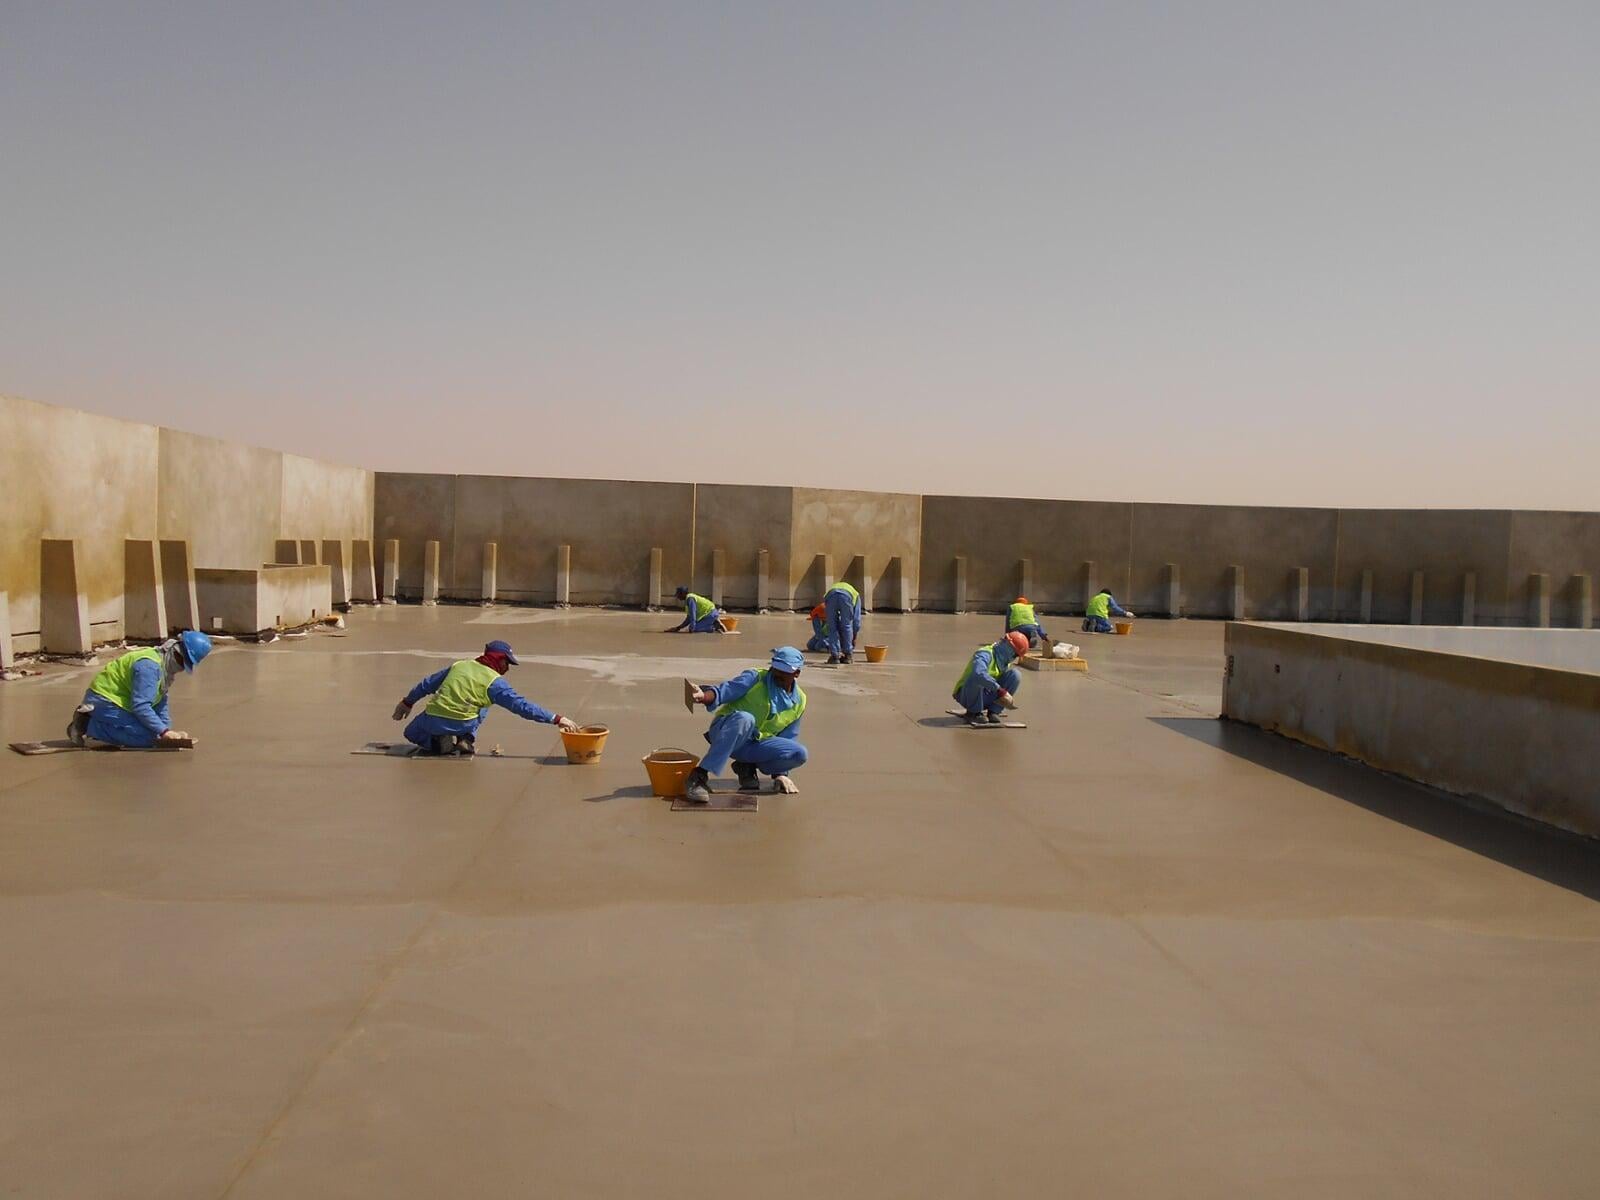
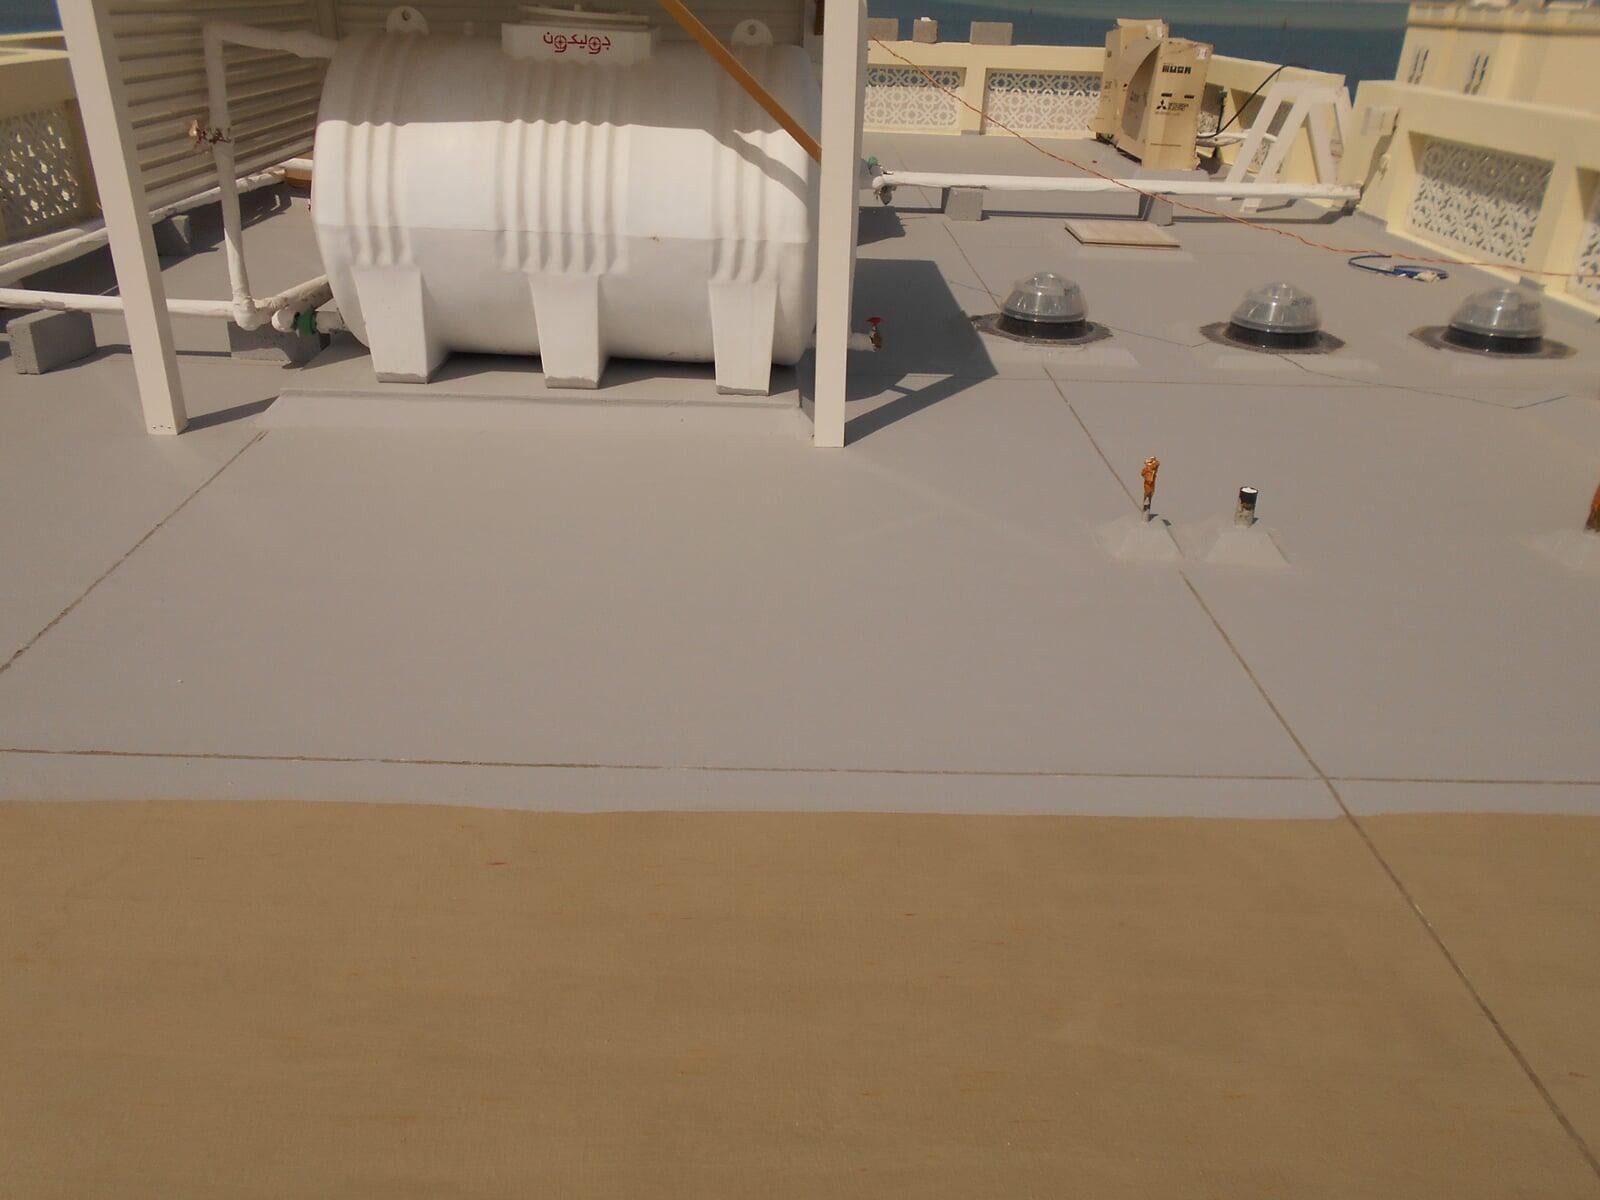
Stage 6 : Screed Laying and Leveling
Once the Ridges are made our experienced masons lay and level the screed to provide perfect slope for a perfectly finished roof. The screed is 25N/mm2, 350 OPC, 0.6 Kg/m3 Fiber reinforced screed concrete to provide the best protection and minimal cracks.
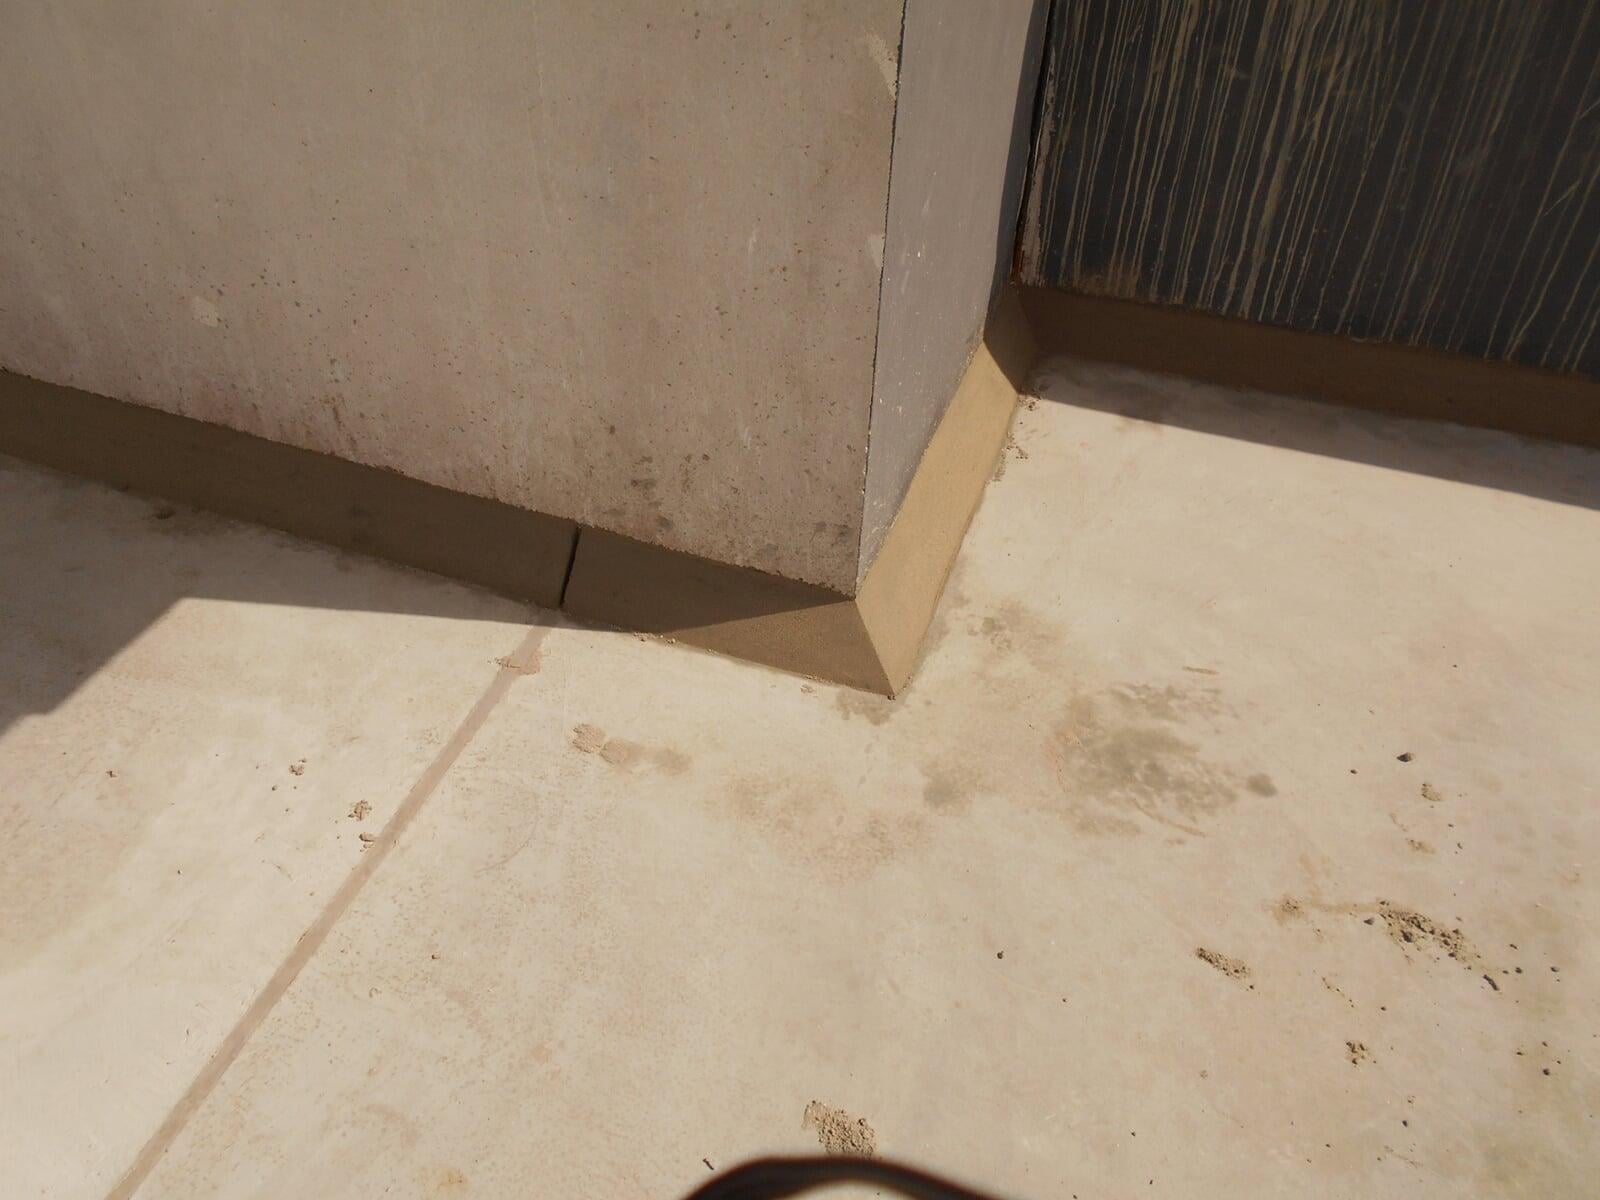
Stage 7 : Angle Fillet
The Skirting of the roof is protected using mortar to give a good finished look to the roof and also protect the system underneath.This is achieved in 4 layers,
1. Polyurethane self flashing edges
2. Mortar for providing a shape and strength
3. Fabric Reinforcement with bonding agent on the mortar to prevent cracks
4. Acrylic Coating to provide a final protective layer to the roof
Stage 8 : Backing Rod And Sealant
Once the screed has set Compact Flexy board is cut from the top, a backing rod is put and sealant is applied to seal the expansion joints to give the finest protection to your roof from any leaks.